1) First thing you do is download this free (donation-ware) groovy HTML Editor for OSX, Taco Html Editor and Install it.
2) Prepare the images you want to use in the comment area.
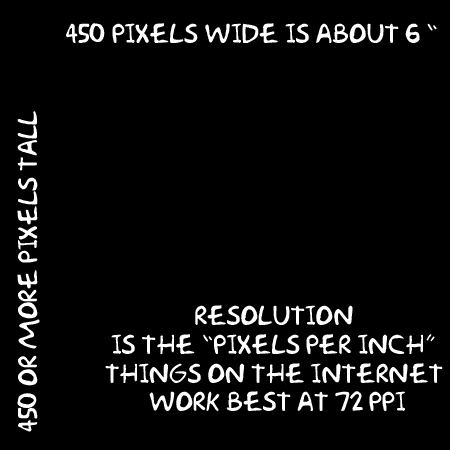
.jpg and .gif are the only two image formats allowed. The best size for them is like this:

Much bigger than 450 pixels wide the image may mess up the layout of your friend's profile page. Using images greater than web friendly 72ppi will make the page load very slowly or not at all if the computer is old or surfing via dial-up.
3) Name the images with web friendly names. No spaces, no special characters! Only Upper and lower case letters, numerals, - and _ are allowed! ALWAYS include the .jpg or .gif file extension at the end of the image's name, otherwise the browser won't know what to do.
beach.jpg me_beach.jpg MeBeach.gif are all good.
me beach.gif beach .jpg beach**.gif meBeach are all bad names.
Use this same scheme to name a folder for the images. "MySpace_pix" is the name I'll use for this tutorial's folder name
Simple names rule! They are quicker and easier to type without mistakes- any typo will make the picture not show up. Capitalization counts!
4) Connect to the internet (if you are not already) From your "Finder" menu, under "Go", one of the choices is "iDisk". Choose "My iDisk". After a moment or two your iDisk folder will pop open on the Desktop.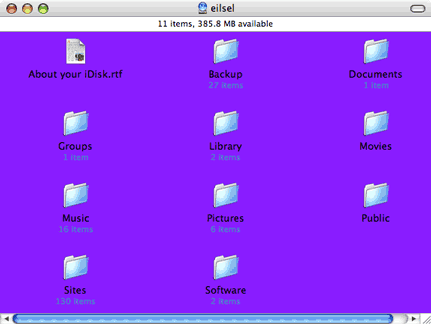
You will see a bunch of folders in there. Find the one called "Sites".
Drag the folder of prepared & named images into this "Sites" folder. It may take a few minutes for this file transfer to finish. Once the image files are in the "Sites" folder you can access them from the internet!
Eject your iDisk
5) Open up Safari or any other browser. In the address bar type this:
http://homepage.mac.com/your_iDisk_name/MySpace_pix/
That is the beginning of the URL (address of where the picture lives on the internet) All the URLs for your images in the folder you made will start like that. After the last slash mark is where the image's name goes:
http://homepage.mac.com/your_iDisk_name/MySpace_pix/beach.jpg
When you hit return, and the correct URL is typed in the address bar, your image should appear in the browser window.
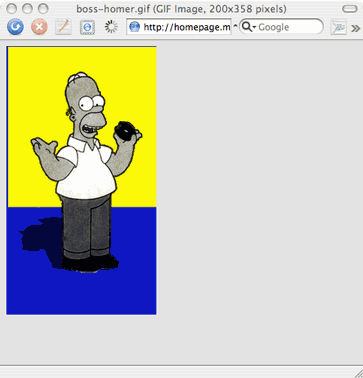
How cool is that! Bookmark that page!
Set up a folder in your bookmarks to keep these links (URLs) of your images handy. It saves a lot of typing!
6) In order to post the image on MySpace, you have to include some HTML code for it to show. This is where Taco comes in. Open Taco, under the "File" menu select "New".
Select all and delete all the text on the new page so it is totally blank:
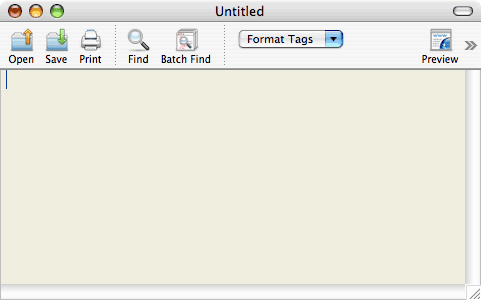
7) From Taco's "Insert" menu choose "Image". This box will appear:
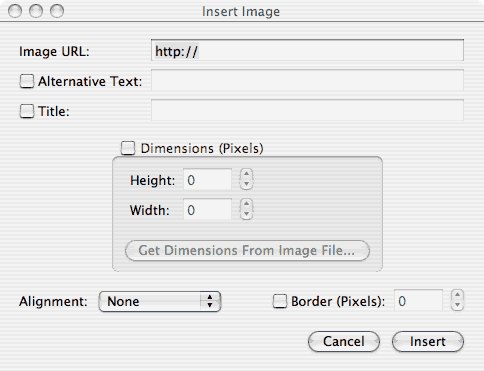
8) Where it says "Image URL" on top of this dialog box either copy and paste the URL from the browser page showing your image, or type in the URL of the image you want to post in a comment.
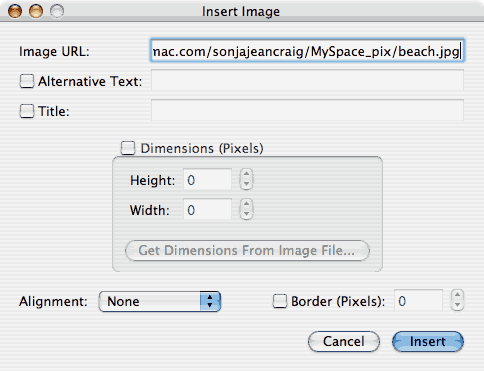
9) Then hit the "Insert" button. On the blank Taco page you will get this:
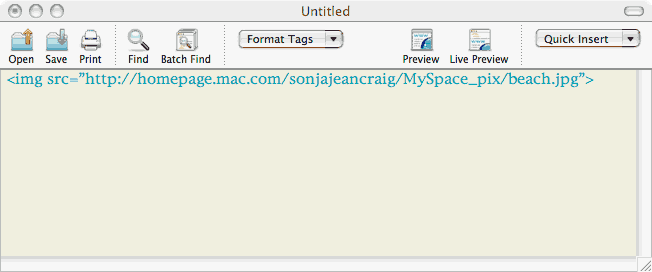
10) Copy and paste that line of code exactly as you see it into the area on the MySpace page to leave comments. Any text you want to type in with the image can be before or after this code & must not break up this bit of code (between the < and >) at all!
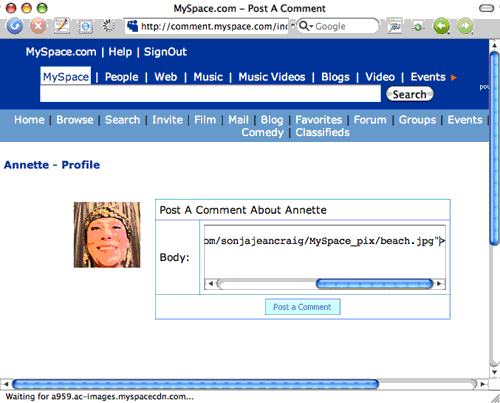
You will see the image when you preview your comment before it is officially posted.
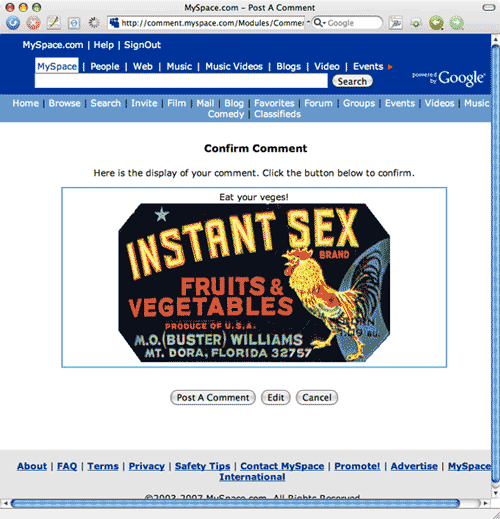
Note! Anywhere you want to put an image, like your blog, or a bulletin, this code will work the same. Copy and Paste into the stuff you're typing.
Leslie Michel ©2007